Layout Tool
The Layout Tool is located in the vertical bar on the left of the Viewer. This toolbar lets you quickly position multiple layers or Shape Paths according to various distribution or alignment rules.
It consists of a set of buttons in the options bar at the top of the Viewer, as well as an interactive placement tool.
Selection Process and Tool Interaction
Once you have enabled the Layout Tool:
- You can use the selection rectangle to select layers
- You can also click on a layer, then add layers to the selection by pressing Shift.
- You can also select layers in the Timeline
There will be a blue frame indicating the selection you have made. You can use the frame handles to stretch or compress the frame to modify the spacing between layers.
Note
Doing this with the 2D Transform Tool would have modified the Scale of the layers. Here, the Layout Tool allows you to apply changes only on the position of the layers.
Layout Frame
This first menu defines the frame in which the selected elements will be aligned, distributed, or stacked.
- Compositon: takes the composition format as a reference frame
- Selection: takes the selection's blue frame as a reference
- Active layer: takes the active layer's Bounding Box as a reference frame

Align
This section contains a first parameter that defines how layers should be positioned in relation to the reference frame.
- Centered
- Interior
- Exterior
Here's an example of left alignment, according to composition format, with each of these three options. Format clipping has been disabled to see what happens outside the format.
The next six buttons align the elements that make up the current selection, based on their Bounding Boxes.
All are aligned to:
- The Left of the reference frame
- The Horizontal middle of frame
- The Right of the reference frame
- The Top of the reference frame
- The Vertical middle of frame
- The Bottom of the reference frame
The video below shows these six functions in Composition / Interior mode:
Distribute
This section contains two sets of four buttons to distribute the current selection within the reference frame. The first four buttons are for horizontal distribution, the next four for vertical distribution.
The first four buttons are described below:
- Distribute the selection evenly based on the Left or Right edges of the elements' Bounding Boxes
- Distribute the selection evenly based on Bounding box centers
- Distribute the selection evenly based on the Left of the Bounding Boxes
- Distribute the selection evenly based on the Right of the Bounding Boxes
For the following four buttons:
- Distribute the selection evenly based on the Top or Bottom edges of the elements' Bounding Boxes
- Distribute the selection evenly based on Bounding box centers
- Distribute the selection evenly based on the Bottom of the Bounding Boxes
- Distribute the selection evenly based on the Top of the Bounding Boxes
The video below shows these height functions in Composition / Interior mode:
Stack
These six buttons stack elements next to or on top of each other, depending on their Bounding box, and push them towards one of the reference frame's edges.
The goal is to remove any gaps between the Bounding Boxes, then move the entire selection to one of the edges of the reference frame.
From left to right:
- Stack left
- Stack horizontally in the center
- Stack right
- Stack at the bottom
- Stack vertically in the center
- Stack on top
Stacking With Rotated/Skewed Layers or Paths
Many of these functions are based on Bounding Boxes, especially stacking operations. Transformation parameters such as Rotation and Skew can affect the appearance of a Bounding Box.
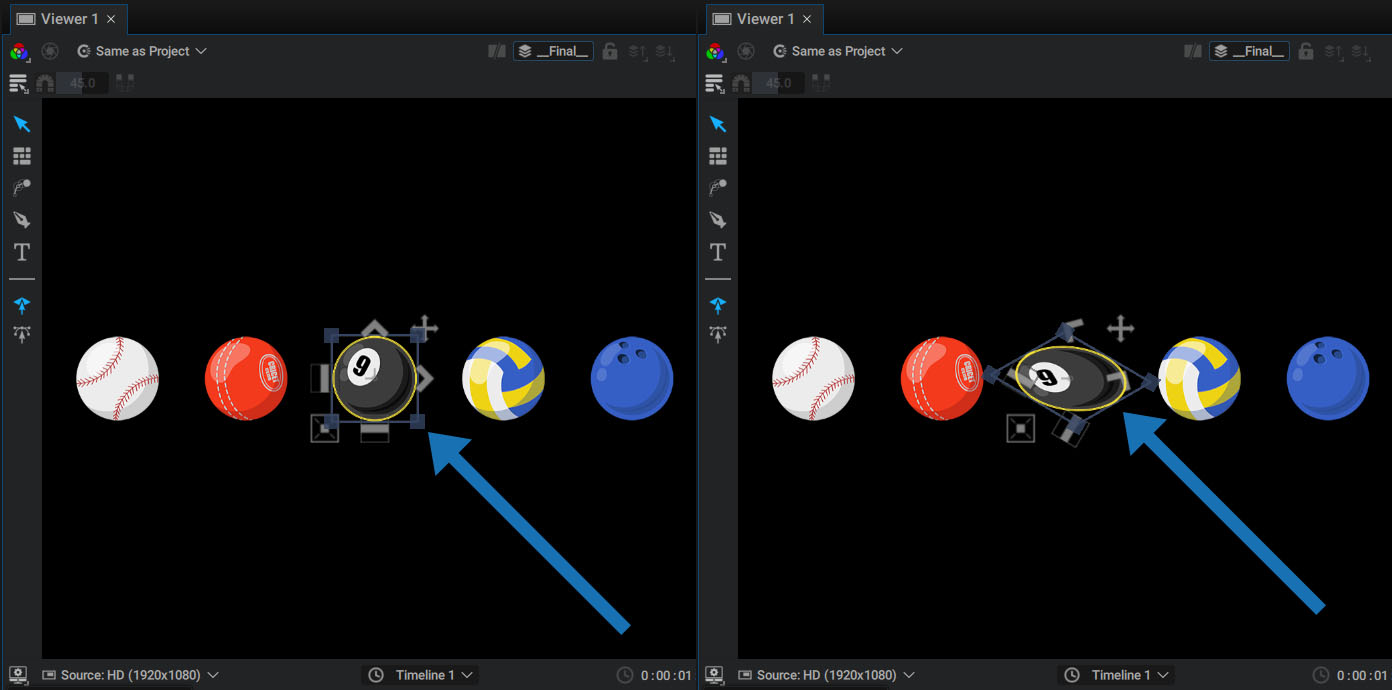
The original horizontal and vertical edges now have a different orientation, and the real Bounding Box that will be used during the layout frames this post-transformation content.
Here in the dotted line section you can see the actual Bounding Box that will be used during layout.
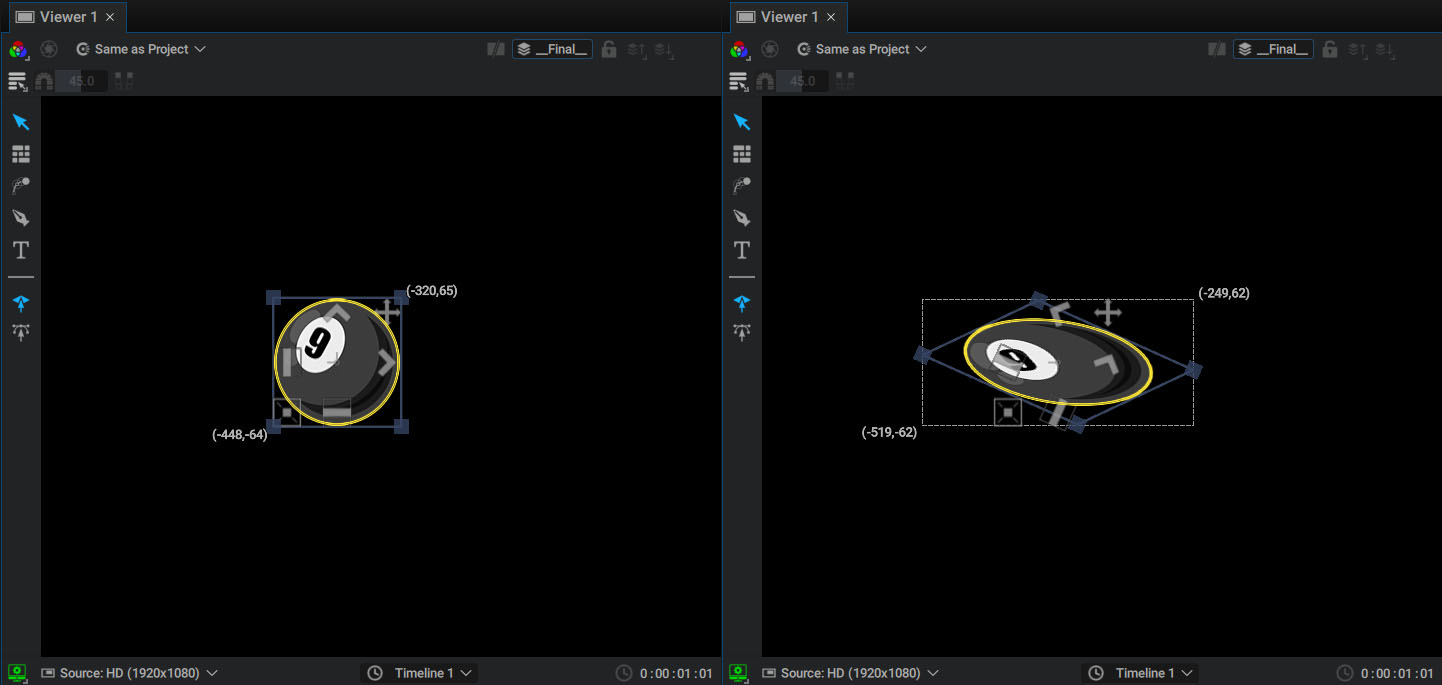
If elements have been transformed, some stacking operations may leave gaps.
Note
In a Shapes Generator, that's the difference between using the tool to move points and the one to change transformation parameters.
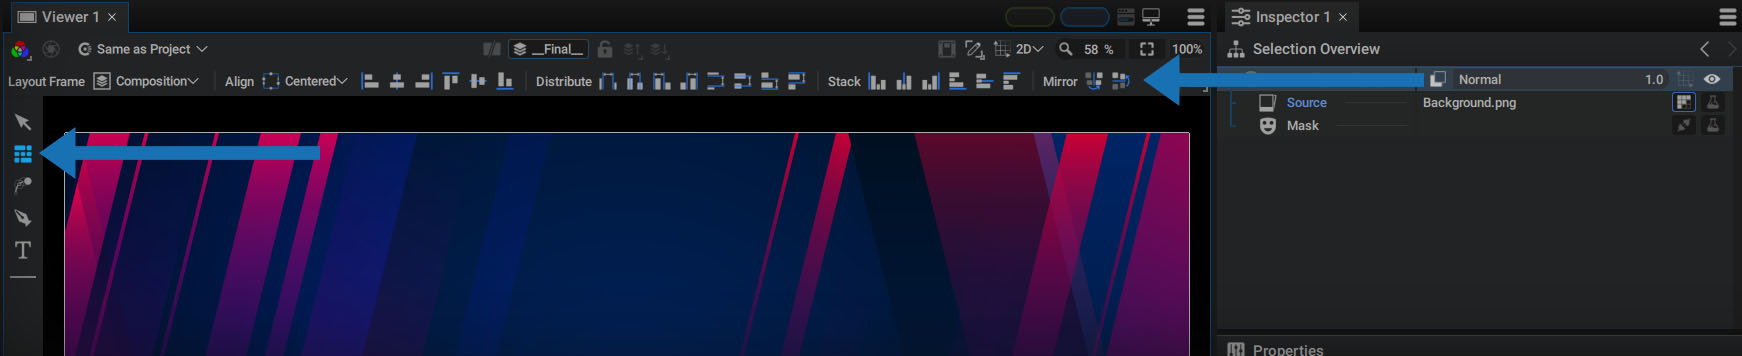
Mirror
This mirrors elements of the current selection horizontally or vertically.
- Moves elements relative to a symmetry axis at the center of the reference frame
- Multiplies one of the Scale parameter dimensions by -1