Waveform and Peakmeter
Adding Audio Layers
Adding a new layer to an Audio Mix is done in the same way as adding a layer to a composition:
-
Import an audio file into the Project Panel
-
Drag it into the Audio Mix section of the Timeline.
Displaying Waveforms
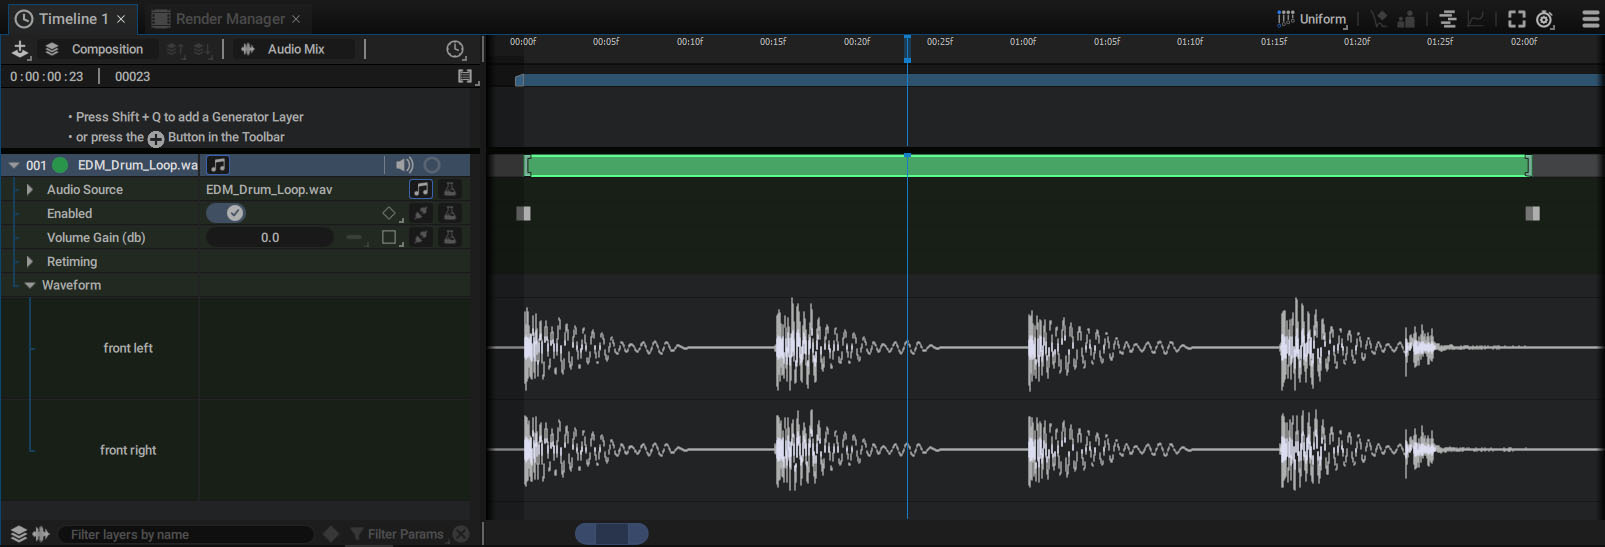
Expand the audio layer in the Timeline to access various parameters, including the Waveform parameter. Expanding this section allows you to view the audio signal. In addition to hearing the audio track when playing the composition, you'll see a Peakmeter on the right side of the Viewer. You can keep it displayed or hide it by clicking on the button at the top right of the Viewer.
During playback, you'll see the audio level change on the Peakmeter. Occasionally, yellow blocks will appear at the top. These yellow blocks indicate that the sound is saturating above the allowed maximum level.

Clipping Indicator
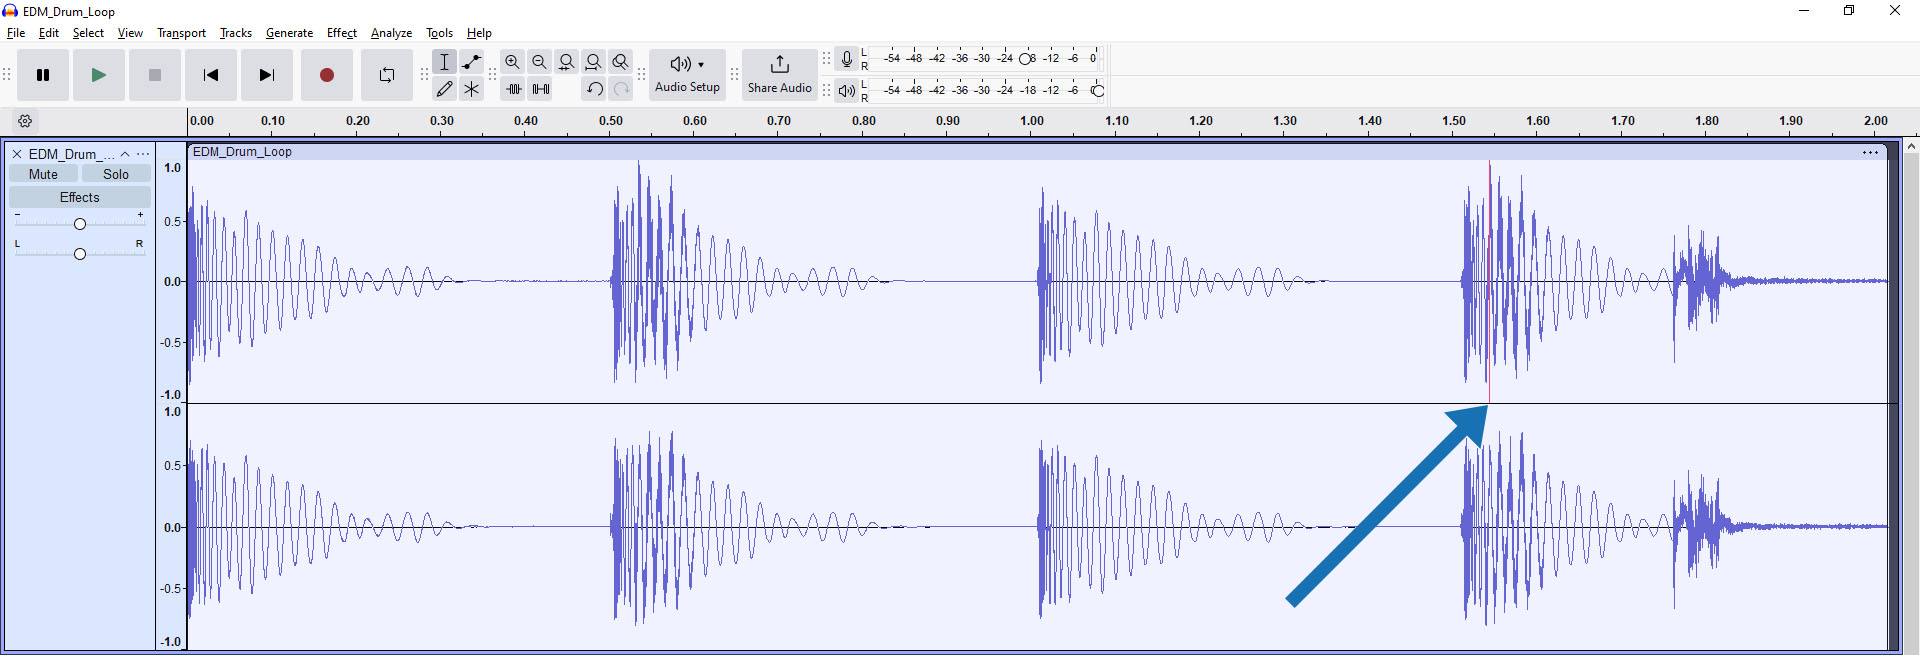
Let's use the audio software Audacity and import the same file. Looking at the waveform shows that some levels are very close to or even exceed the maximum. Audacity allows us to view these instances of saturation by going to the "View > Show Clipping in Waveform" menu. The red bar indicates that the maximum level has been exceeded.
In Autograph, these overloads and instances of reaching the maximum level are represented by a yellow square, displayed here on the left channel.

Managing Layer Audio Level
To prevent reaching the maximum level, you can adjust the Volume Gain to reduce the overall amplitude of the signal. Any modifications made to this audio layer, whether it be volume reduction or the addition of a Modifier, will update the source waveform.