Reader: FPS Overriding
When an animation is loaded into Autograph, whether it be an image sequence or a movie, its duration is defined by:
- The number of images contained in the sequence
- The frame rate; defined by the user in the case of an image sequence, or embedded in the movie container. This frame rate is defined in FPS (frames per second).

If an animation contains 300 frames at 30 FPS, the resulting duration will be 300 / 30 = 10 seconds.
- Increasing the FPS causes the images to succeed each other much faster and reduces the duration.
- Decreasing the FPS causes the animation to last longer but it will also look more jerky.
Reinterpreting frame rate for movie files
When you use a stock image in your composition, such as a loopable thin smoke video taken from Youtube, the frame rate information embedded in this file (used by Autograph to play it) may not match the frame rate of your composition.
- If the file's frame rate is greater than that of your composition, some frames will be skipped when using it as a new layer.
- If the frame rate is lower, some frames will be repeated or interpolated (see below).
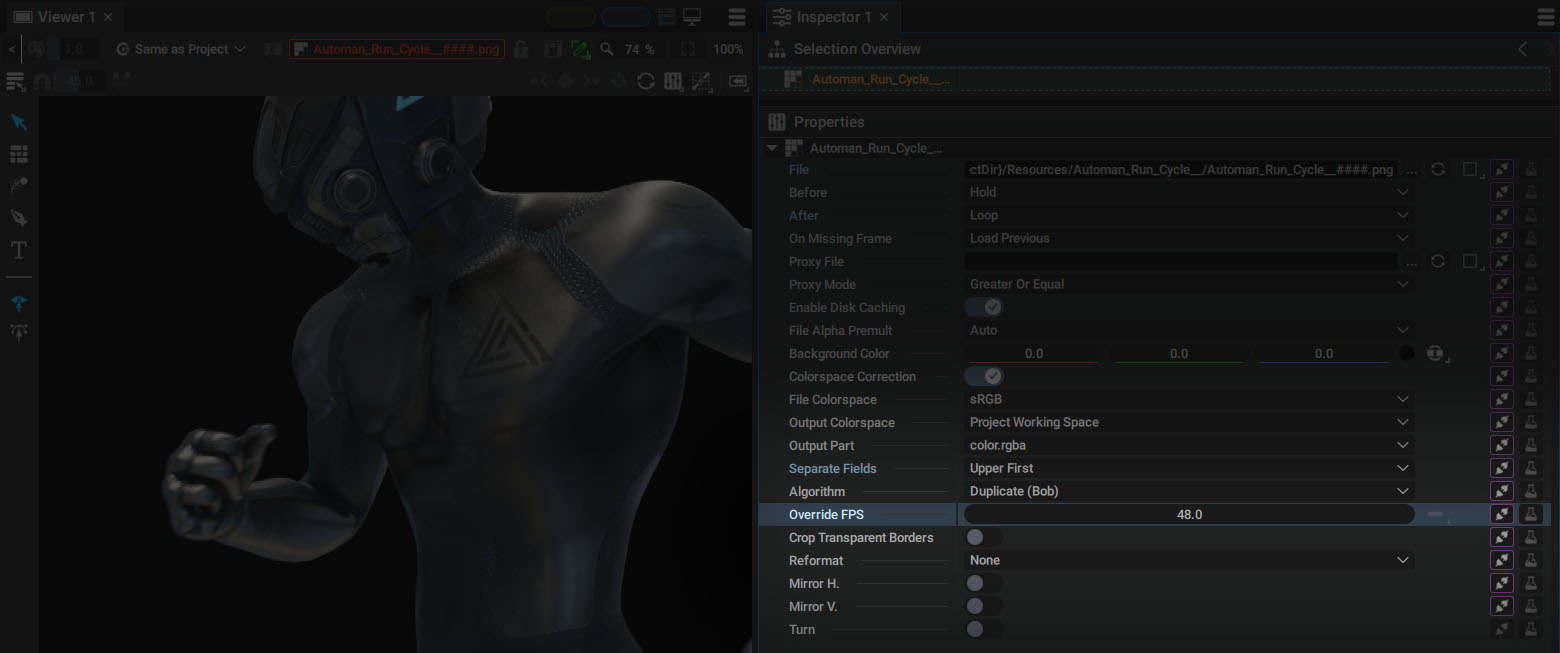
However, you can override the FPS information to play a video file faster or slower and make it match your composition’s frame rate. Our smoke video, encoded at 29.97 FPS, can be read at 25 FPS if our composition uses this frame rate. Each frame of the footage will be used by each frame of the composition. Smoke movement will obviously be slower, but in most cases, it will be less noticeable than a frame drop.
Mixing different frame rates in the same composition
In Autograph, it's really important to understand that the basic unit for timing purposes is seconds and not the frame. When you import an image sequence or a movie, the FPS and number of frames define a duration expressed in seconds. Whatever the number of images that make up an animation or the speed at which they are read, a second remains a second.
So, you can drop in a 30 FPS compositio:
- A 10-second movie at 12 FPS on one layer
- A 10-second movie at 60 FPS on another layer
The dope sheet will display two layers with the same duration.
Repeating or Skipping frames
Remember, some images from the 12 FPS movie one will be reused, and some images from the 60 FPS movie will be skipped.
This is particularly useful because it allows you to change the FPS of the composition at any time, without worrying about the number of composing images.
If a layer with an animated rotation suddenly rotates at the fifth second, this will always be the case regardless of the FPS, since all animation parameters are also expressed in seconds.
By this way, all timing information in Autograph is FPS independent. In the Render Manager, you can set a composition to be rendered at 30 FPS AND 60 FPS at the same time, in two different files.
Reusing and Interpolating new Frames:
We talked about skipping frames when the footage FPS is higher than that of the composition, but what happens when we slow it down?
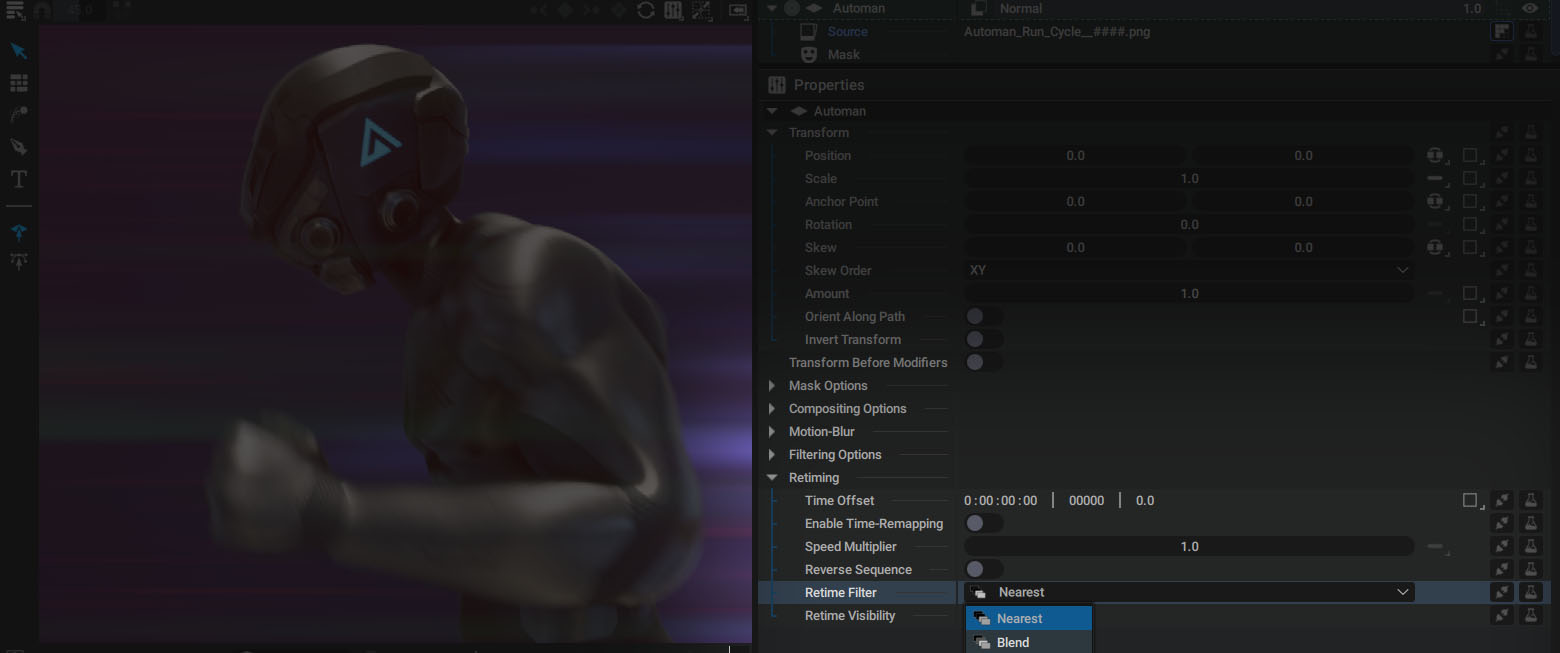
After selecting a layer, the Properties section of the Inspector will contain a Retiming section.

Autograph offers 3 different Retime Filters to handle this case.
- Nearest: interpolated images are based on a copy of the closer one
- Blend: interpolated images are a mix based on the two closer images
- Pixels Motion: interpolated images are based on motion vectors created using the two closer images
Note
To find out more about Retime Filters, please refer to the Retime Filter part of this section.