Render Manager
The Render Manager panel is where you can export images and videos out of Autograph.
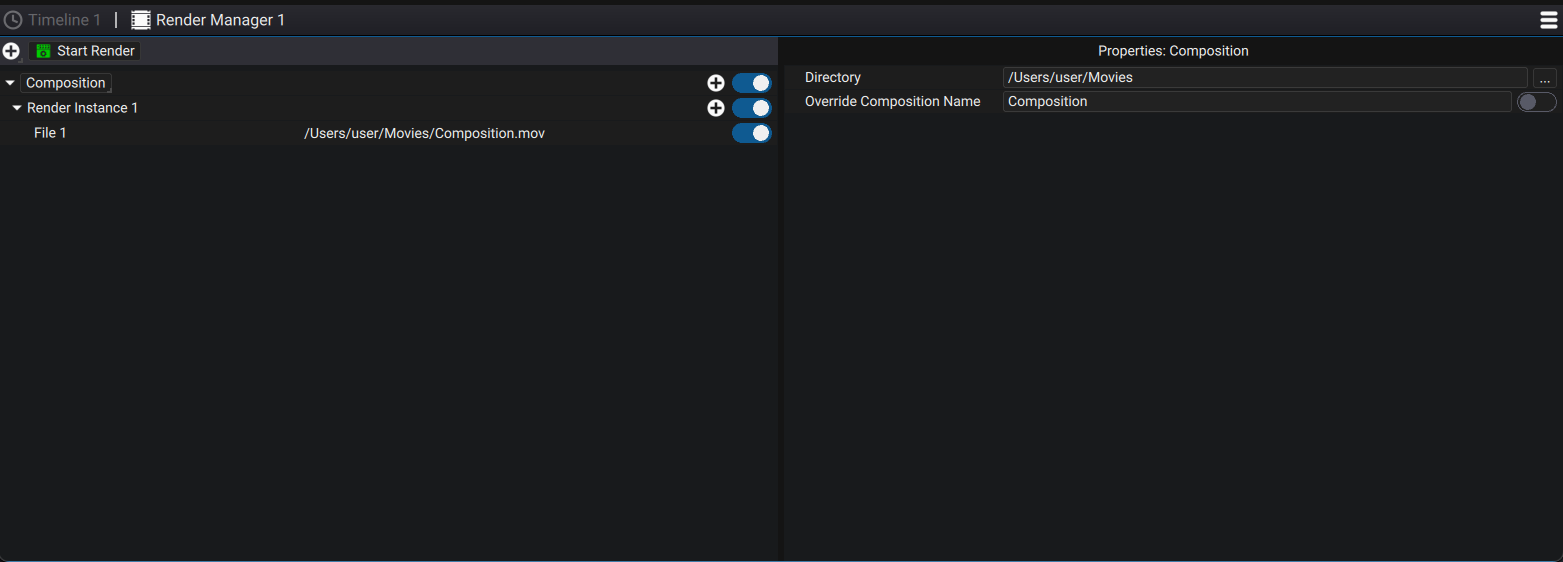
The Render Manager was designed to quickly export a video while still being able to control all audio/video codec parameters. In addition, a Composition can be rendered in Autograph's Render Manager with different variations that can be rendered at the same time. When clicking on a row selected on the left part of the panel, it will reveal its properties on the right side of the panel. Note that you can copy (Ctrl+C), paste (Ctrl+V) or duplicate (Ctrl+D) elements from the left part. You can even paste them as text in a notepad to be reused as presets. Autograph will soon offer a preset system based on this functionality.
A Composition Render is used to define which Composition is rendered and where.
One or multiple Render Instances can be created where each instance can override the Composition parameters. The Render Instance can also be used to specify an optional audio file to encode in the output video. Note that audio encoding this way is temporary as Autograph will soon have built-in audio support within Compositions.
One or multiple Render Files can be created per Render Instance, where each instance specifies parameters of one output video or image sequence.
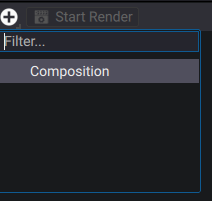
To add a new Composition Render, you can either do so from the "+" button at the top of the panel:
Or by right-clicking and choosing Add to Render Manager on a Composition in the Project Panel
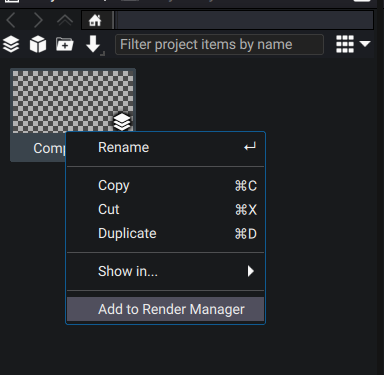
Adding a Composition

A Composition render lets you select/change which Composition to render through the drop-down menu on the left of the composition row.
It is important to understand how Autograph resolves the file path of the output file. The output file path is composed of multiple parameters split across the Composition, the Render instance and the render file:
-
The Composition render lets you specify the output directory as well as given a filename, which is the name of the Composition by default, but this may be overridden
-
The Render Instance allows you to add a prefix or suffix to the filename. For example, this can be used to include format specifications, such as a
_60isuffix for 60 frames per second interlaced footage, or_4Kto include a resolution suffix. It also offers the ability to add a Directory suffix to the Directory that is set on the Composition, for the same intended purpose as in the example above. Note that the Render instance also lets you override the name that was set on the Composition. -
The Render File works in the same way as the Render Instance, but it allows you to override or add a prefix/suffix on top of what the Render Instance does.
Let's look at an example setup which makes concrete use of these properties:
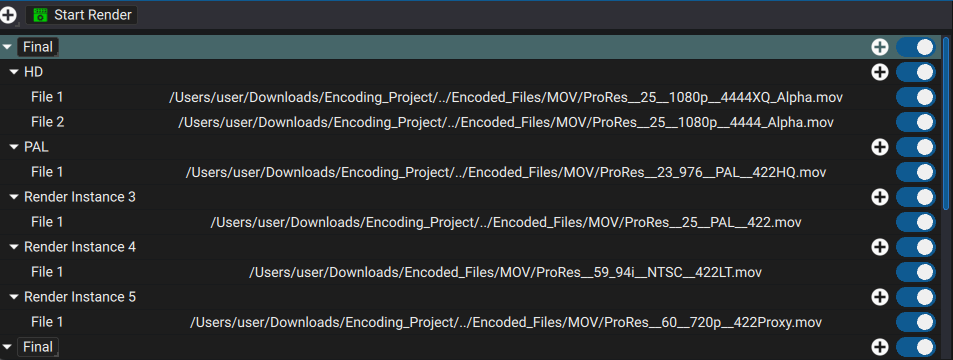
In this example, the Final Composition has 5 Render Instances and the HD Render Instance has 2 Render Files. Let's take a look at how the file path of Final->HD->File 1 is constructed:
/Users/user/Downloads/Encoding_Project/../Encoded_Files/MOV/ProRes__25__1080p__4444XQ_Alpha.mov
-
Final set its Directory property to
${ProjectDir}/../Encoded_Fileswhich automatically expands to/Users/user/Downloads/Encoding_Project/../Encoded_Files -
HD set its Directory Suffix to
MOVand the filename suffix to__25__1080pto indicate that the Render Instance sets the Composition to have a 25 fps, 1920x1080 progressive format. -
Finally, File 1 set its suffix to
__4444XQ_Alphawhich indicates that the Quicktime file was encoded with the Apple ProRes codec using the 4444 XQ profile.
Render Instances
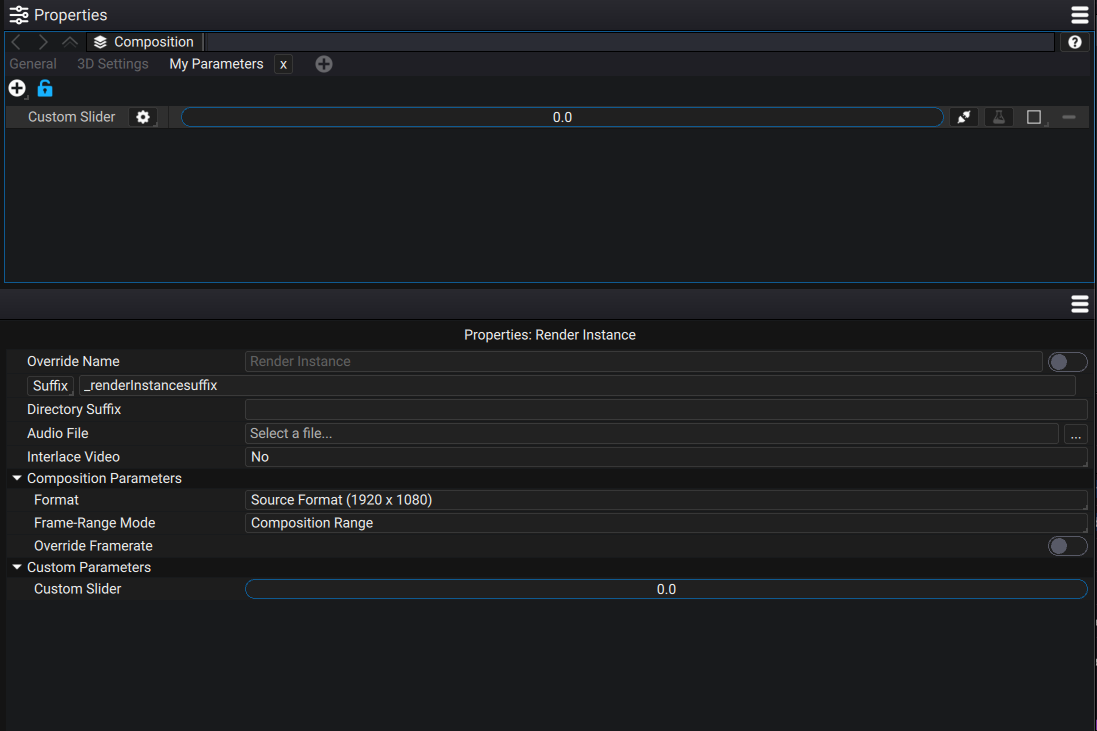
The Render Instance allows to change parameters of the Composition just for this render instance. For example, you may change the composition Format or framerate. Additionally, as seen on the screenshot above, any custom parameter created on the composition can be overriden for this render instance.
Additionally, you can specify an Audio File that will be encoded in the video. Note that this is a temporary feature as Autograph will soon integrate Audio directly in the Composition. Note that you can also control whether you want to output Progressive or Interlaced video.
File output
A Render File contains all options related to the output file format/codec that will be created.
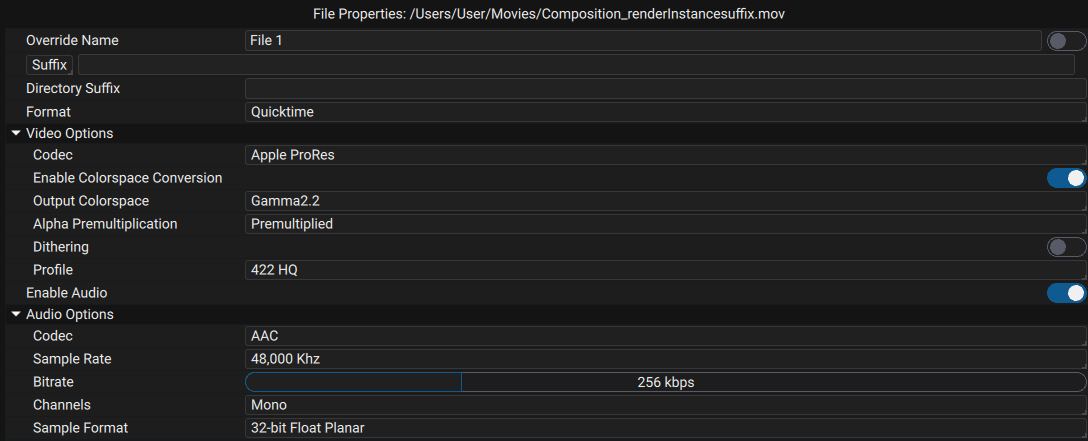
Video Format:
The Format drop-down menu lets you choose between video or image formats.
NOTE
When switching to an image format, Autograph will automatically add _#### padding to the file suffix, which will be replaced by frame number indexing to produce the image sequence. When rendering to video, make sure no '#' remain in the filename that could be replaced by the frame number.
Image Colorspace
The colorspace options allow you to select the OpenColorIO colorspace used to transfer pixels in the file. Please see the colorspace section for more details.
Video codec:
For video rendering, there are a wild variety of codecs that all have their upside and downside when it comes to quality, encoding speed, decoding speed, compressed video size etc..
All codecs have different options that will appear under Video Options. The Codec dropdown menu shows available video codecs for the currently selected Format Note that some codecs are platform and hardware specific and may not be available, such as AMD AOM, NVIDIA NVENC, Intel QuickSync or Apple VideoToolbox.
To output video files intented to be re-used as part of an editing workflow, we recommend using the Apple ProRes codec.
To output video files intended to be used for media playback, we recommend using VP9 or H264. AV1 is supposed to supersede H264 in the near future, but encoders are not yet as optimized in speed.
If you need to export a video with an alpha channel, we recommend using either Apple ProRes with 4444/4444 XQ profile or VP9 codec.
Alpha Premultiplication:
When outputting to a video file, you may select whether or not you want the Red, Green , and Blue channels of the image to be multiplied by the alpha channel. Depending on the intended use of your media, one may be preferable. Generally for video playback, outputting Premultiplied footage is desired.
Bitdepth:
Some image/video codecs let you control the image bitdepth in the file. Note that 32-bit float or 16-bit float bitdepths are high dynamic range (HDR) and allow you to preserve negative and overbright values. Selecting 8-bit is fine if you plan to only use your image/video for viewing/playback but not if it is supposed to be color edited further down the pipeline.
Dithering:
The Dithering parameter is available for many video/image formats. Dithering applies random patterns to the image to help reduce banding artifacts on gradient-like patterns when outputting to 8-bit bitdepth.
Audio options:
Audio options let you control the codec used to encode the audio as well as the Sample Rate and bitrate which controls the quality/size of the compressed audio.